×
OfficeShopperLogo

OfficeShopper Mobile App

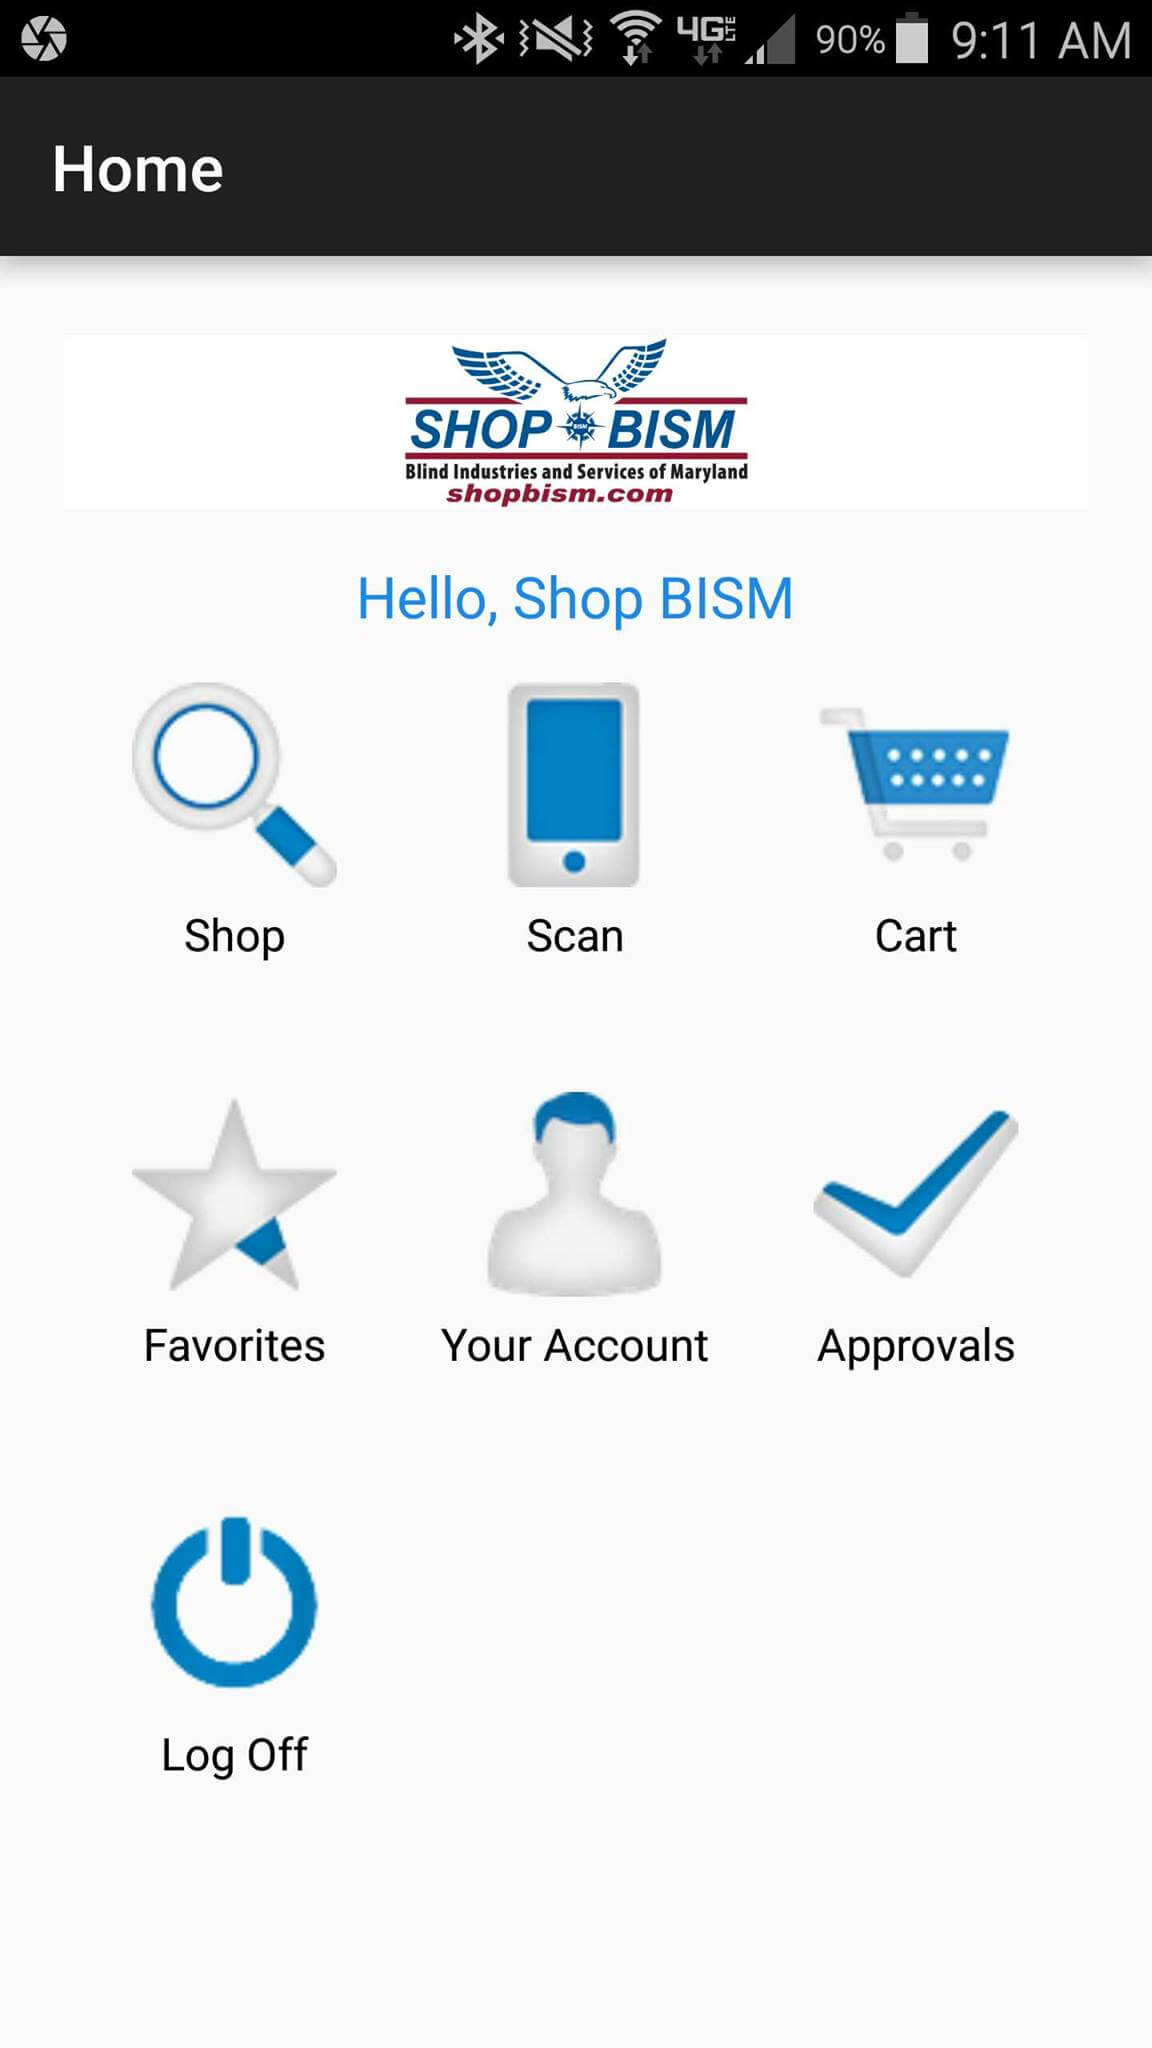
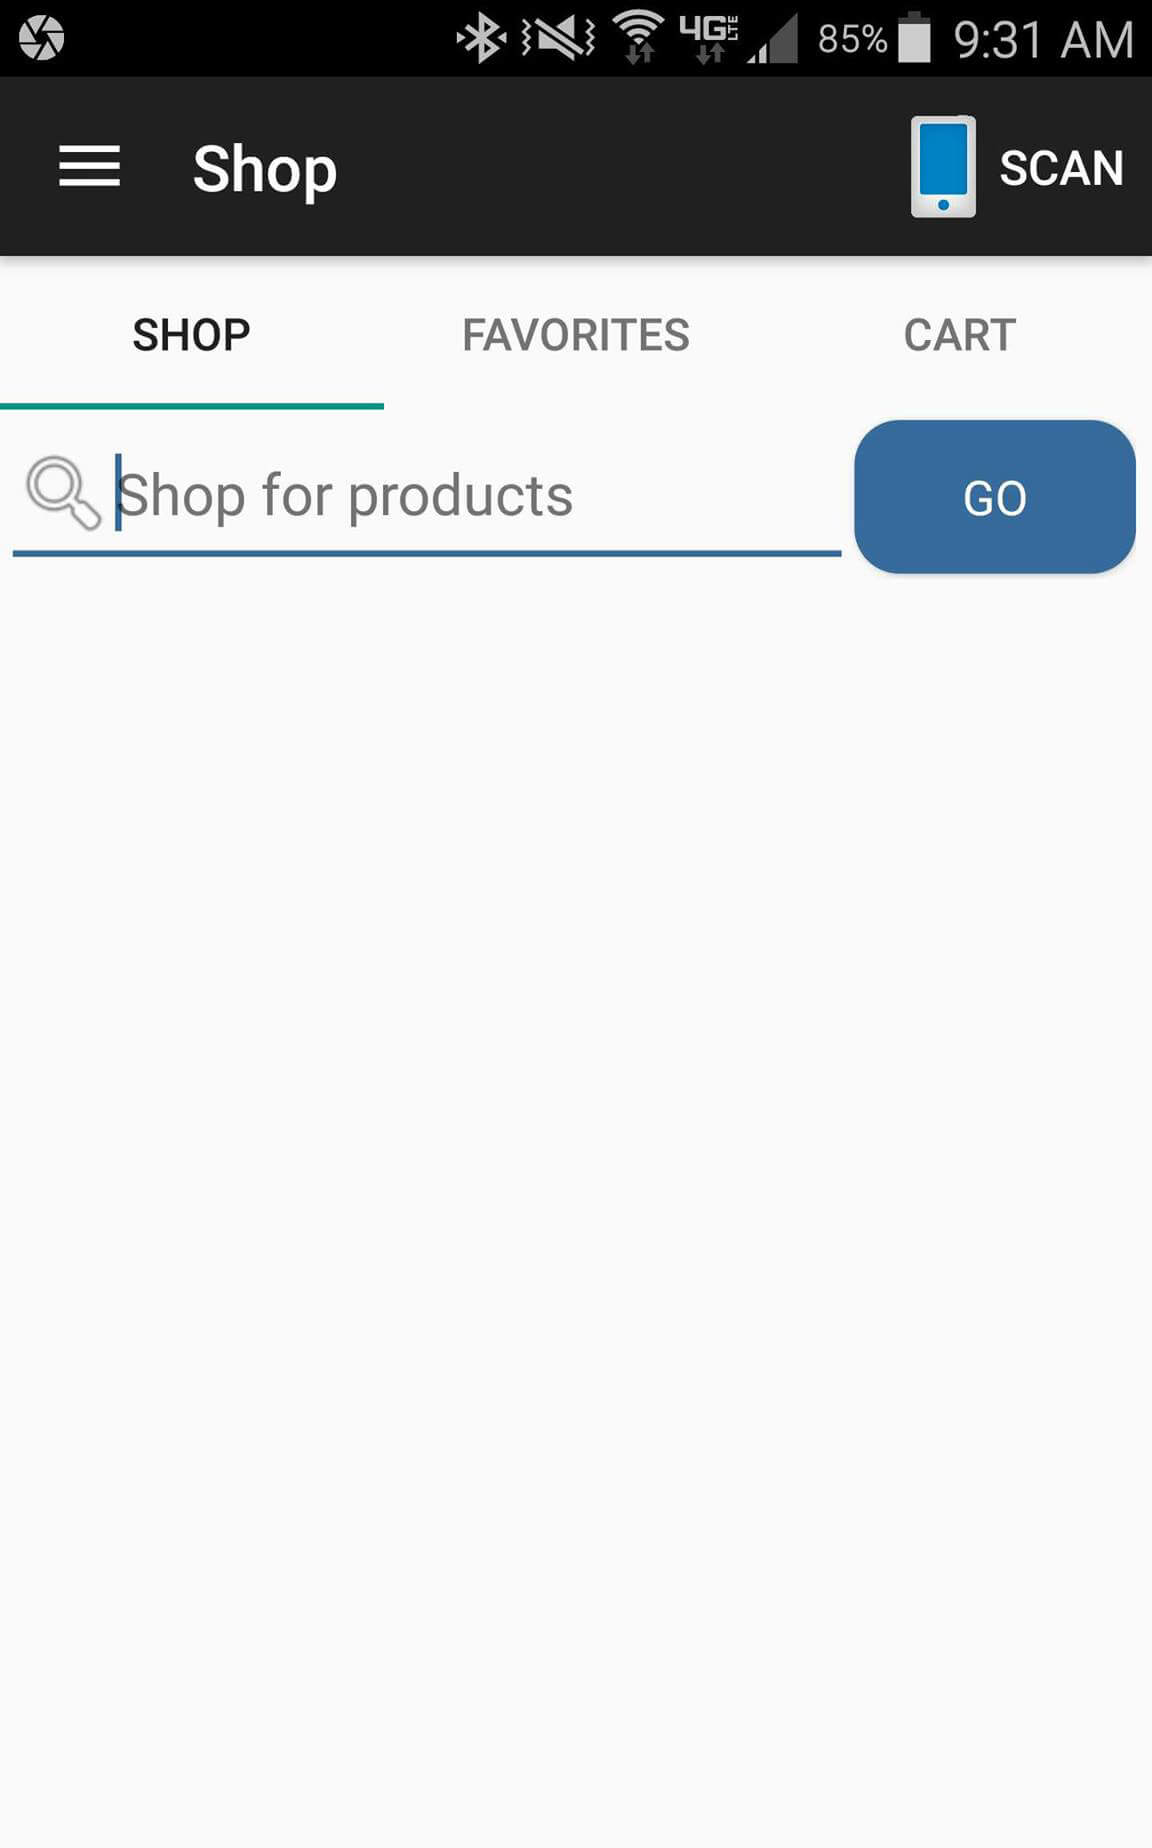
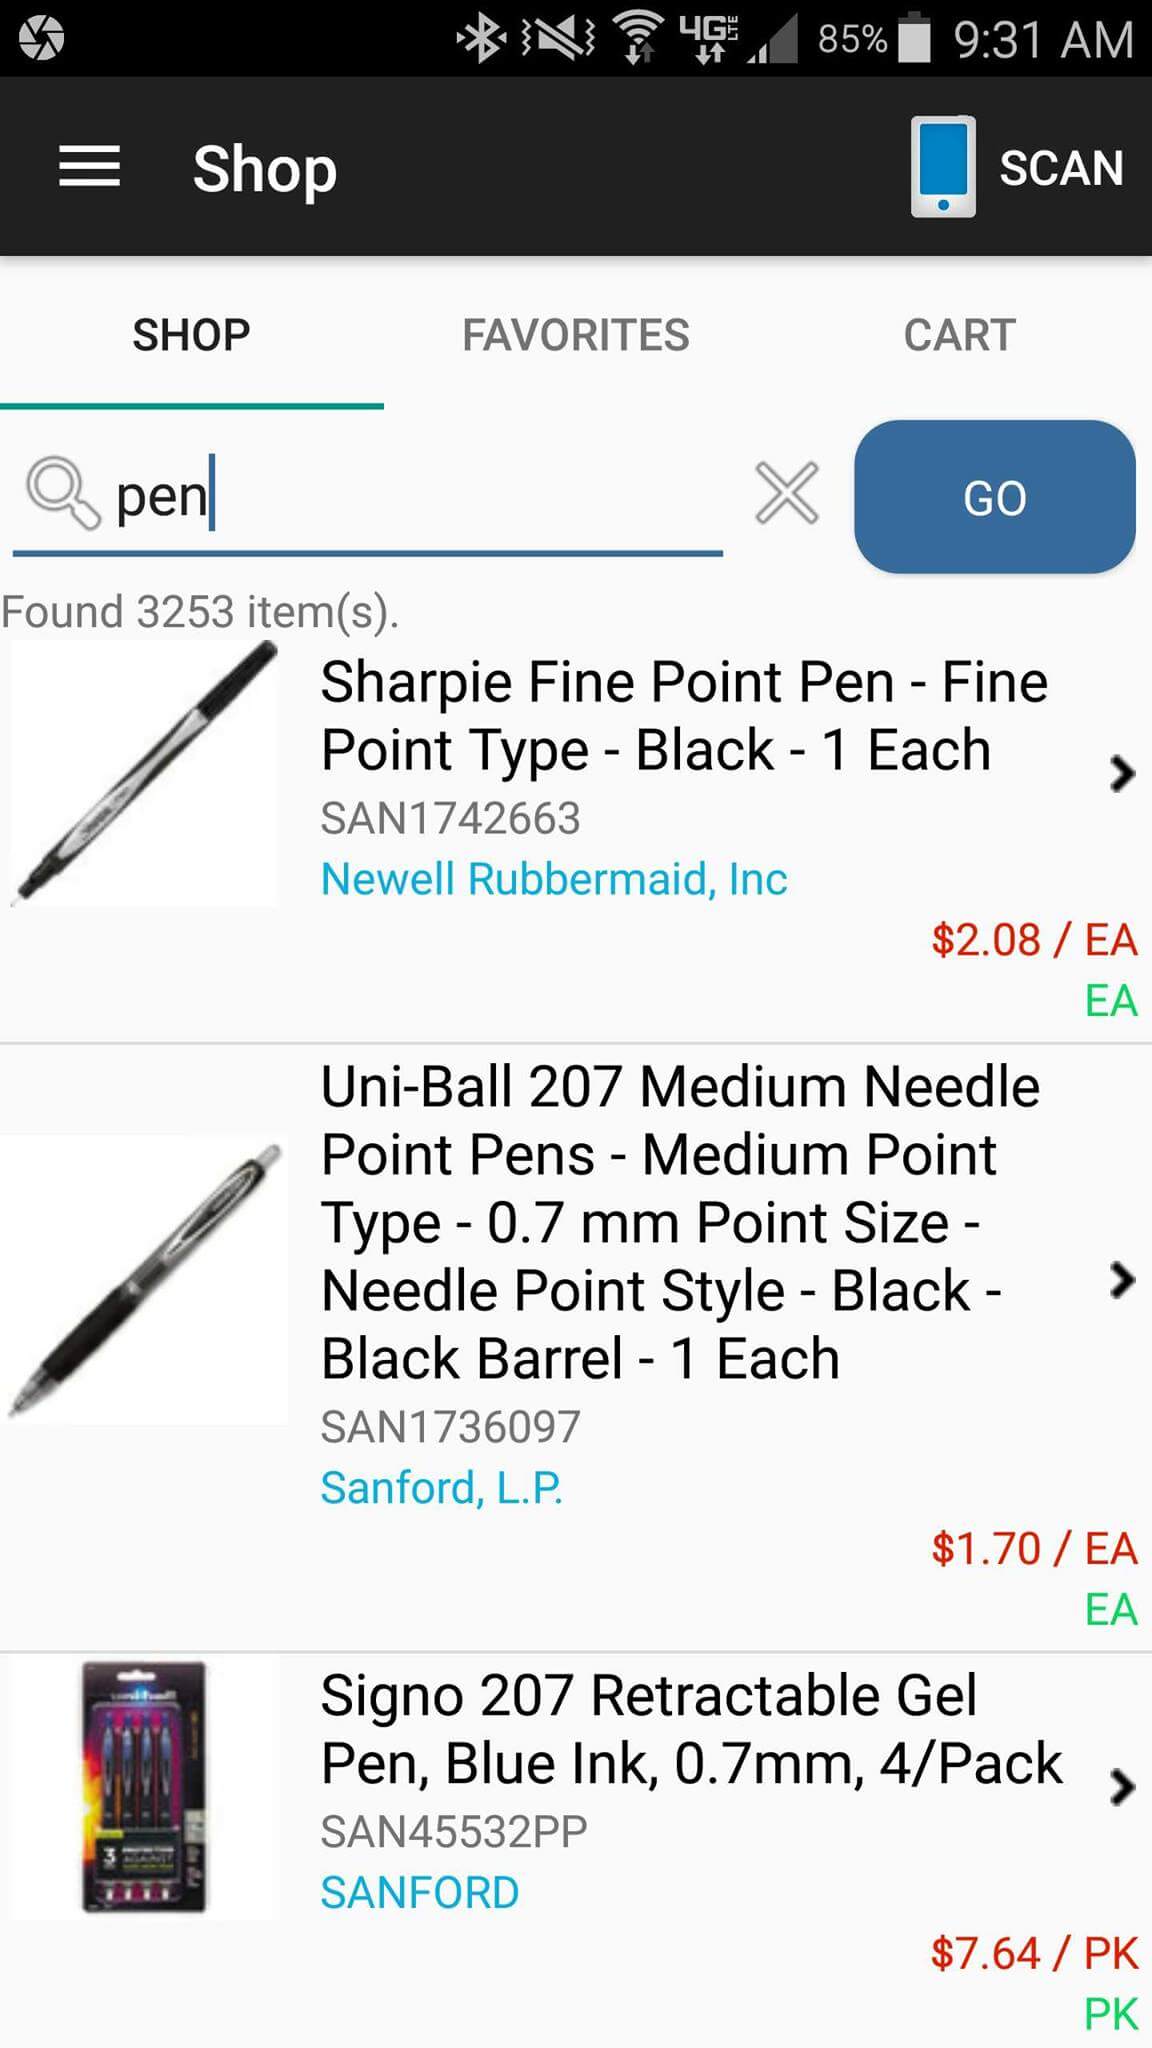
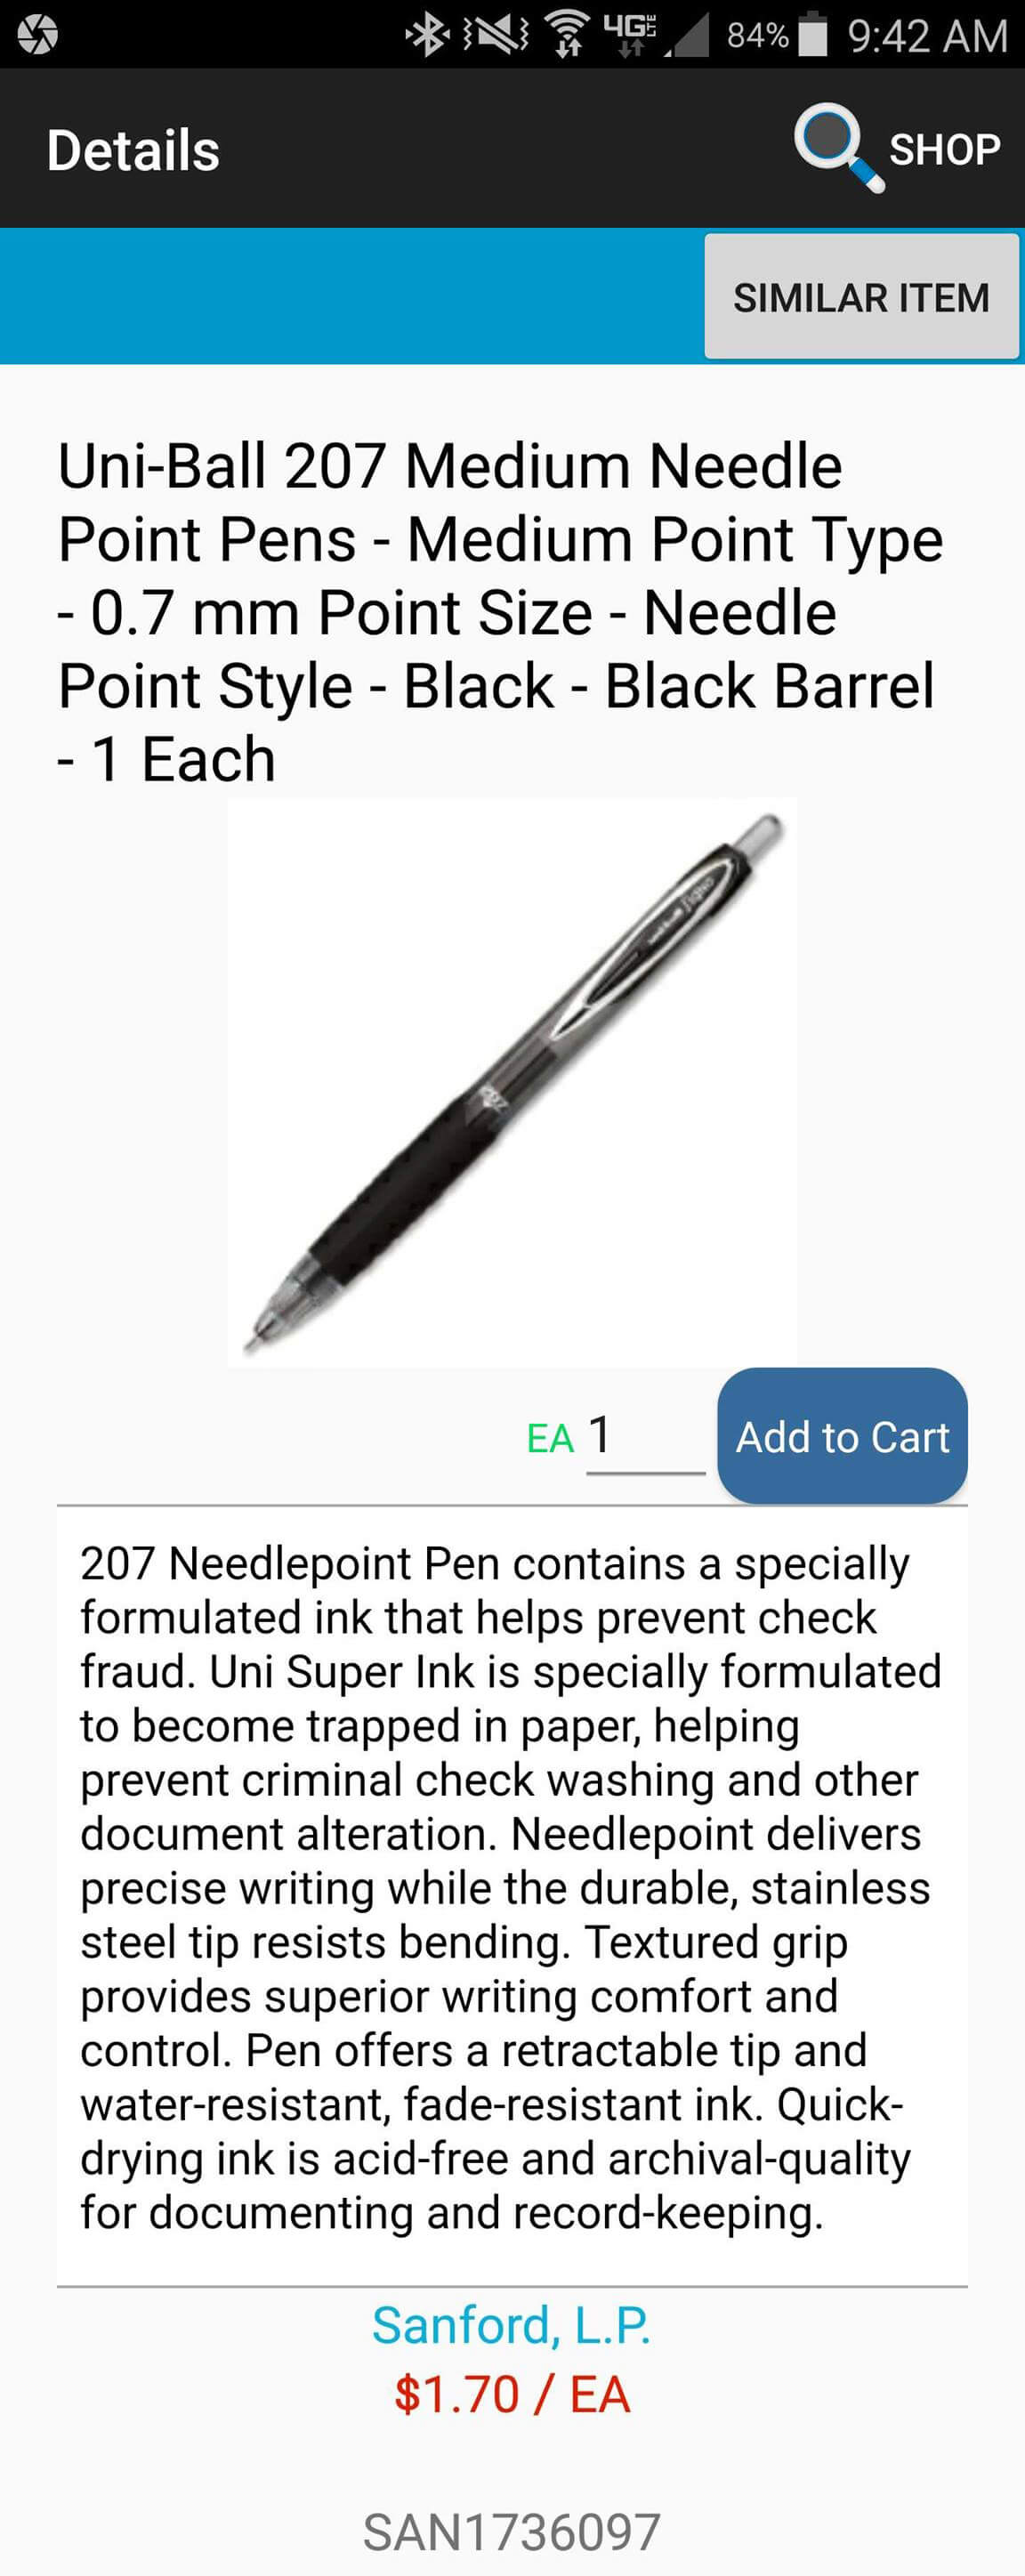
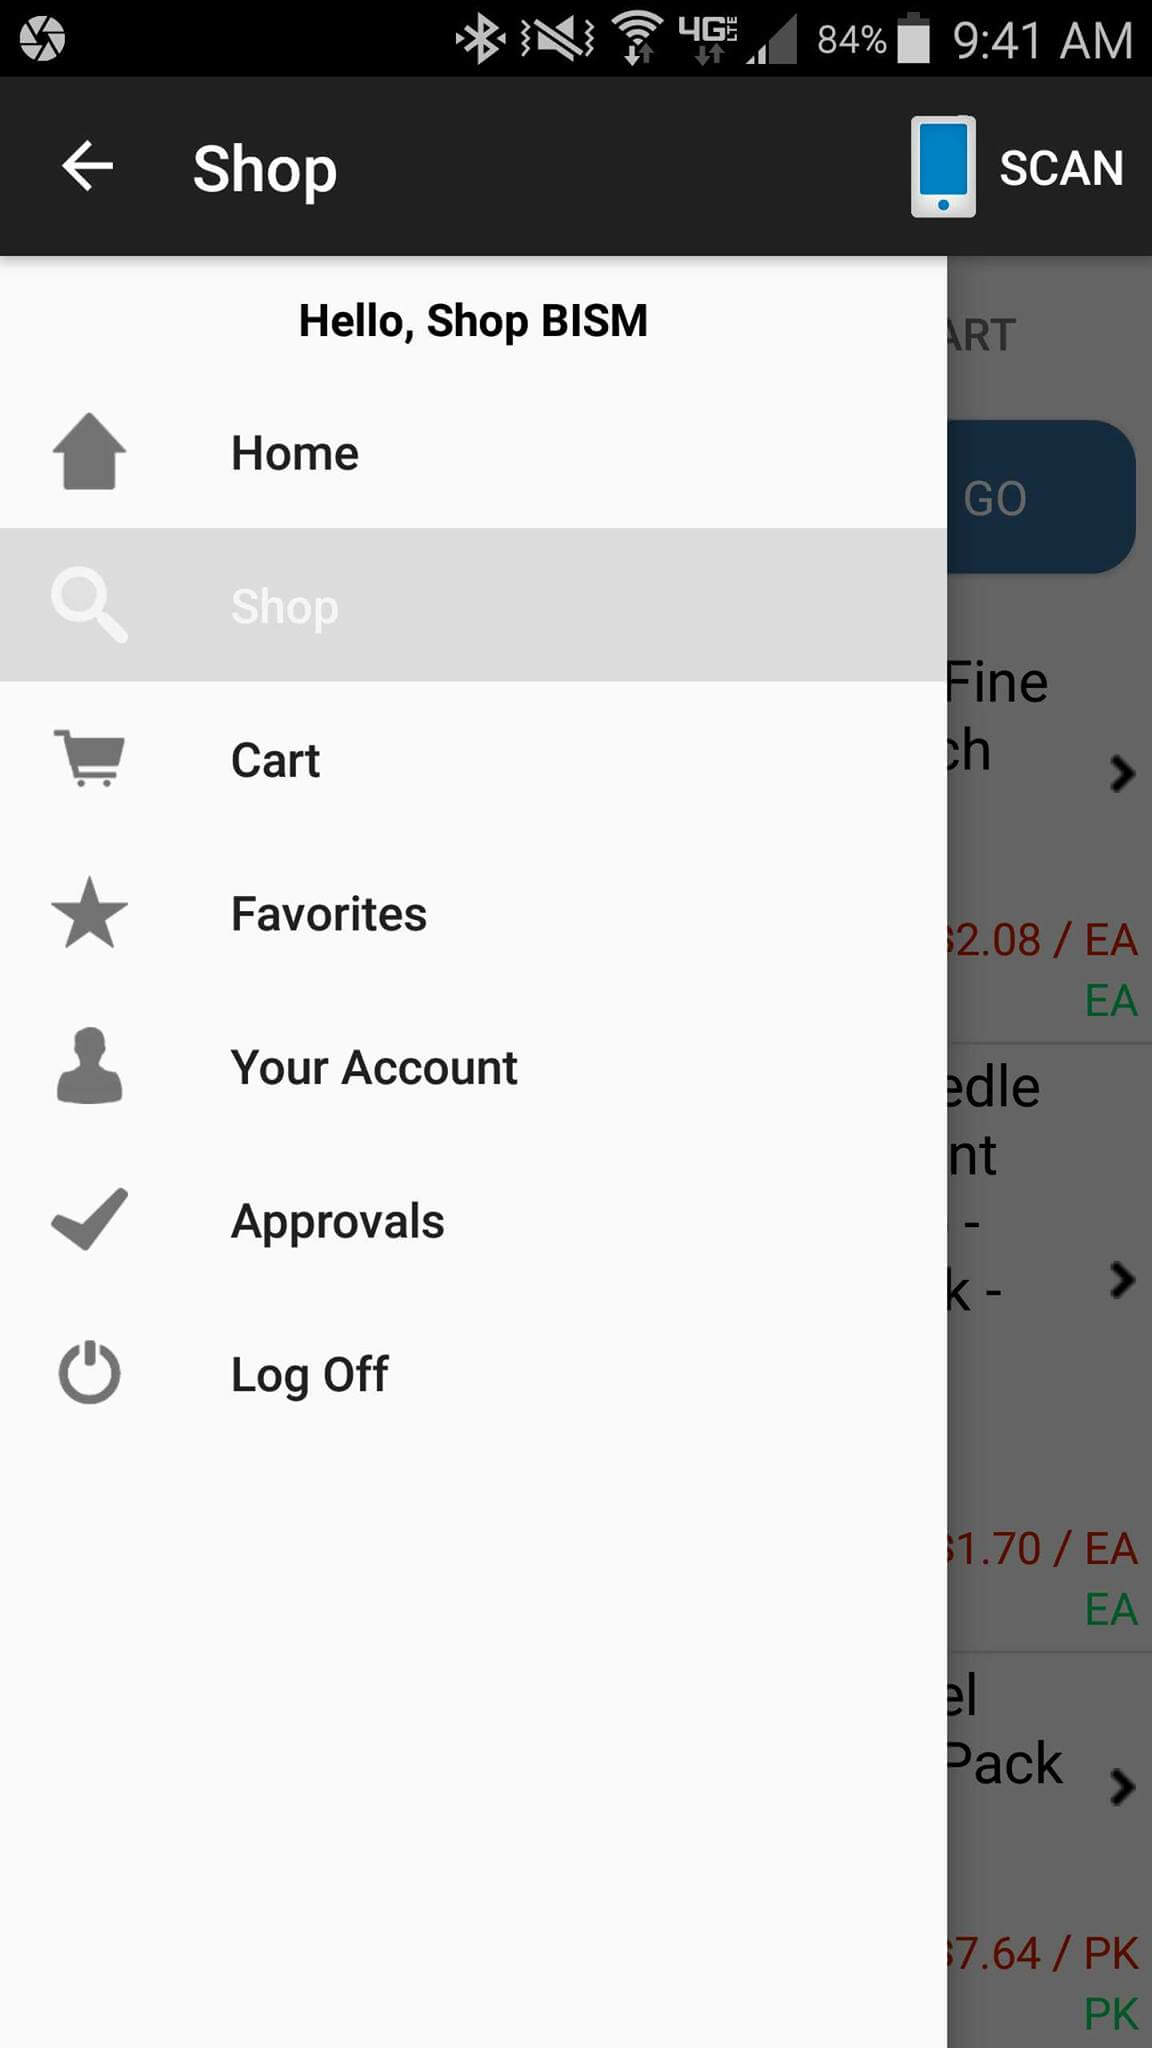
Shop anywhere, anytime with our new OfficeShopper mobile app. The Office Shopper mobile app will allow you to log in with your standard ShopBISM account to sync with your specific pricing and other user settings such as favorite items. You’re able to search, view, and order items just like you normally would but from the convenience of your mobile device.

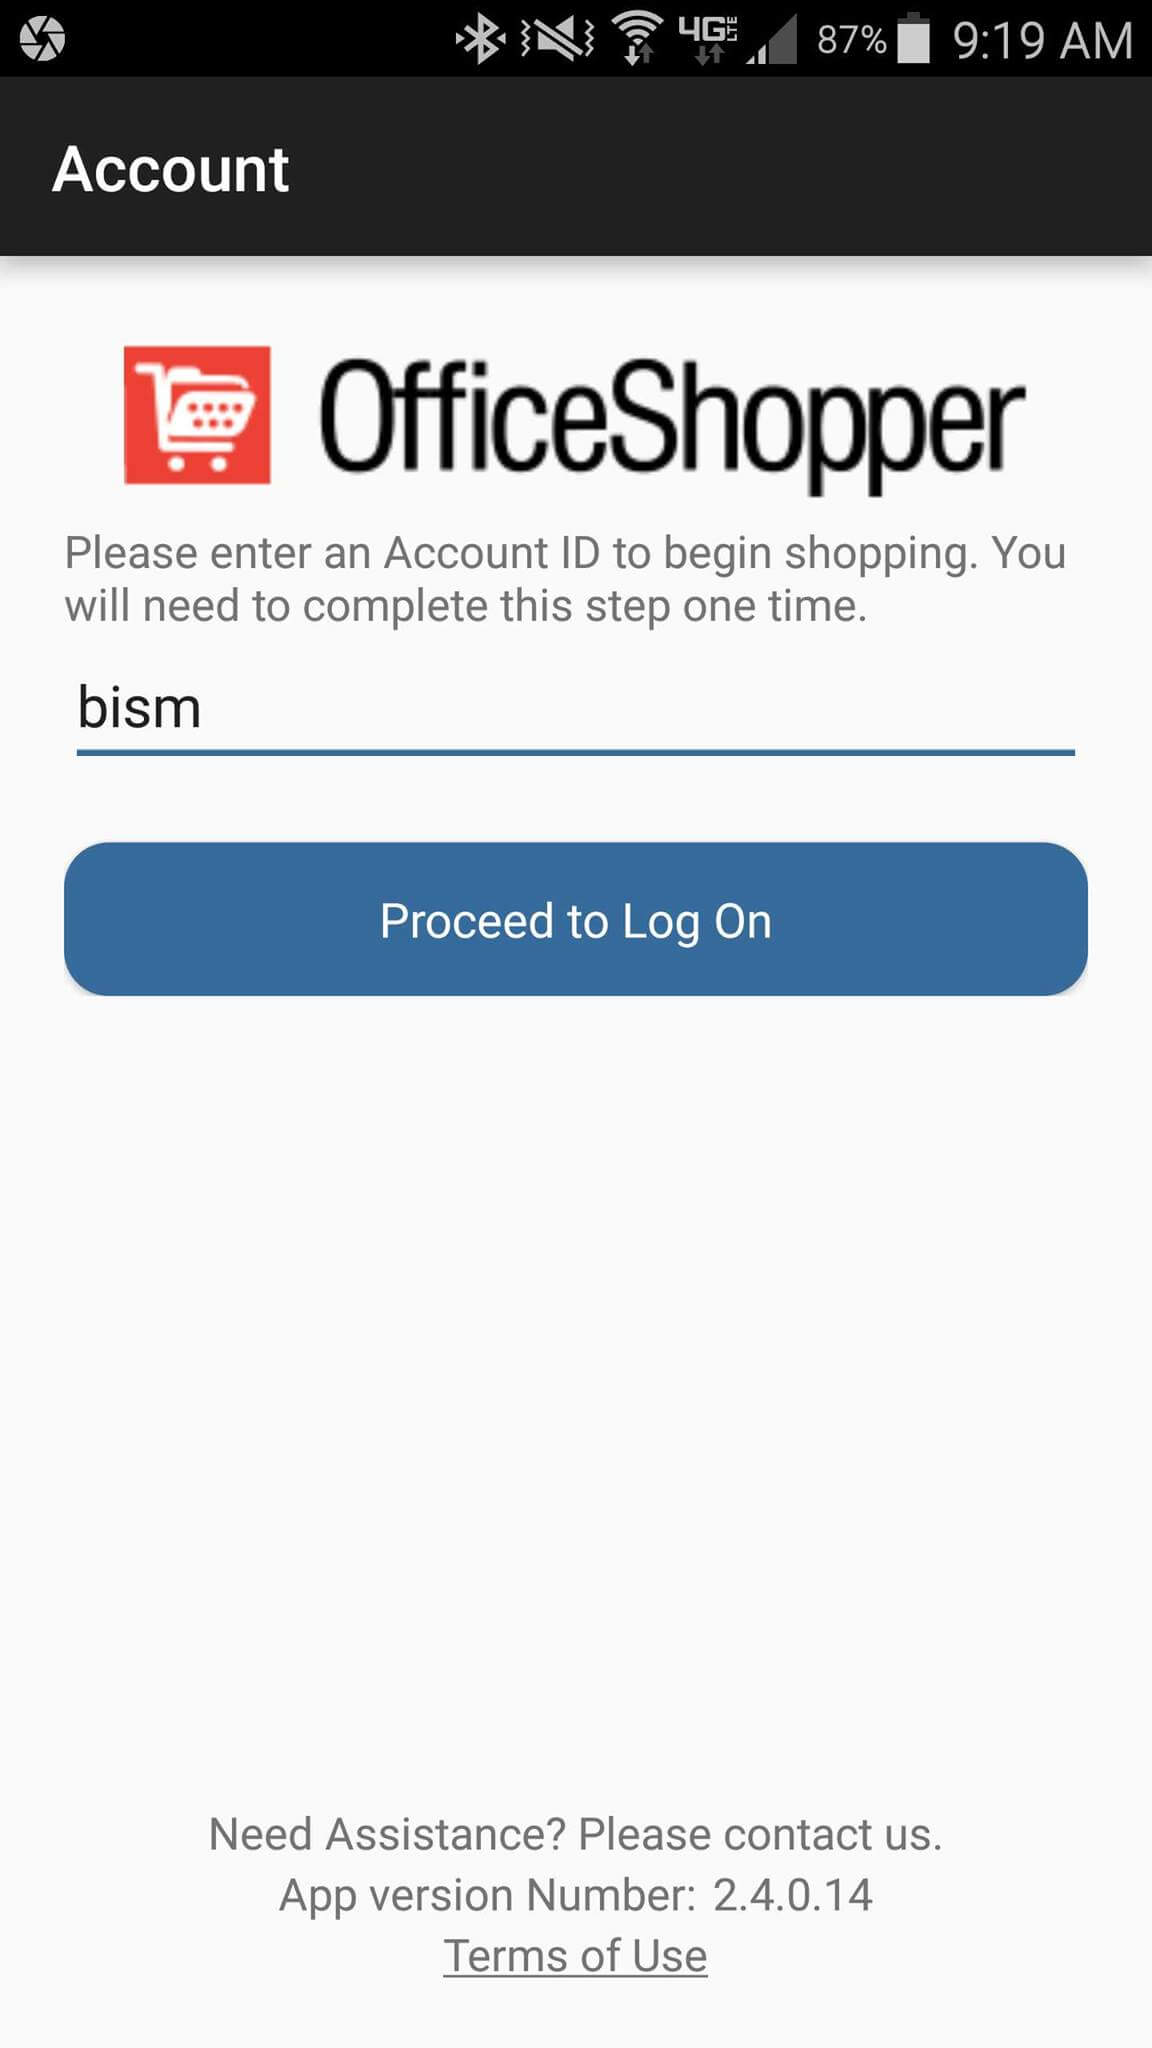
Scan the QR code or use the links to the right to find and download the OfficeShopper app on your Apple or Android mobile device. Register with Account ID = BISM, then log in with your usual email address and password credentials to begin shopping.

Download PDF Guide

ShopBISM Mobile App Guide

1
1. Download Mobile App

Search for OfficeShopper in the App Store or Google Play store on your mobile device. Download and Install the app.

2. End User License Agreement

The first time the app launches you will need to accept the End User License Agreement.

2
3. Default Loading Screen

Once the EULA is accepted you will see the default loading screen seen below.

4. Enter Account ID

You will be prompted to enter an Account ID. This ID lets the app know you want to shop from ShopBISM.com. Enter Account ID = BISM

3
5. ShopBISM Loading Screen

Once you have entered the Account ID, you will see the ShopBISM logo loading screen. This will be the loading screen for all subsequent app launches.

6. Sign In

You will now be asked to sign in with a username and password. This is the same username and password for the online shopping site. You will only be required to sign in the first time and if you sign out.

4
7. Home Screen

This is the normal home screen. Approvers have a slightly different home screen which will be covered later in the Approval section.

Shop: This button will take you to the shopping screen. From here you can shop for items and build your cart.


Scan: This button will launch the barcode scanning option. From here you can scan barcodes and add them to your cart.


Cart: This button will open the Cart screen. From here you can review your Cart or Checkout.


Favorites: This button will take you to the Favorites List screen. These will be the same Favorites Lists that are available on the online shopping site.


Your Account: This button will open the Account page. On the Account page you will see all the details of your account, have the ability to change department, and see the Terms of Use and Open-Source-Licenses.


Log Off: This button logs you out of the current account in the app.

5
8. Your Account Page


Account Name


Your Information

Your Name, Username, and Account ID


Contact Us

ShopBISM Contact Information. Clicking on the phone number or email will prompt to load your default application for either calling or emailing.


Device Information

Information about the device used to log into the application.


About OfficeShopper

App Version Number, Terms of Use and Open Source Licenses.

6
9. Shopping Page

This is the Shopping Page. Simply enter a search term or item number in the search bar and hit the Go button to display results.

10. Search Results Page

This is the Search Results Page. Clicking on an item takes you to the Item Detail Page where you can add an item to your cart.

7
11. Using Search

On the Search Results Page you can start a new search by entering a new search term or item in the search bar. You can also access the Cart by clicking on the Cart icon. Clicking on the Scan button will launch the Scan page.

12. Item Details Page

This is the Item Details Page. Here you can see pricing when logged in, change the quantity of an item, and add it to your cart.

8
13. Options Menu

This is the Options Menu. It can be accessed by clicking on the Menu icon (3 Horizontal Bars) in the top left corner of the app.

14. Cart Page

This is the Cart Page. You can see all items in Cart, Checkout, Edit Cart, or Continue Shopping. To adjust quantity simply click in the quantity number box and edit. To remove an item click the Remove button. To clear the cart click on the Clear Cart button. To Checkout select the Checkout button.

9
15. Scan Page

This is the Scan Page. It will launch the Scan application to read barcodes or QR codes from a product. To scan an item place the barcode inside the rectangle view finder. Once the scanner has focused in on a barcode it will add the item to your cart if it is a valid barcode.

10
16. Checkout Page

Account Name & Attention Field

Here you can enter your Attention field for shipping.


Order Summary

Shows the number of items and order total.


Shipping Information

Shows the address the order will be shipped to. OfficeShopper only supports the default shipping address. To change the default shipping address, please log in by computer and select a default shipping address in Manage Account.


Payment Method

Shows the Billing Address, Payment Method, and contains the field for entering your Phone number or PO number.


Review Order

If you are ready to submit your order for processing hit the Review Order button.

11
17. Review Order Page

On this page you have another chance to review your entire order before submitting for processing.


If you are ready to submit the order to ShopBISM for processing hit the Submit Order button.

12


18. Order Confirmation Page

This is the Order Confirmation Page. If the order does not require approval you will see this page with your reference number and order details after hitting the Submit Order button.


19. Phone & PO Field

If a field is required for Checkout, such as the Phone number or PO number, you will see a prompt like this one indicating such.

Together we are positively changing people's attitudes about blindness.

Owned and operated by Blind Industries & Services of Maryland
Copyright © 2024 ECI Software Solutions, Inc. All rights reserved.